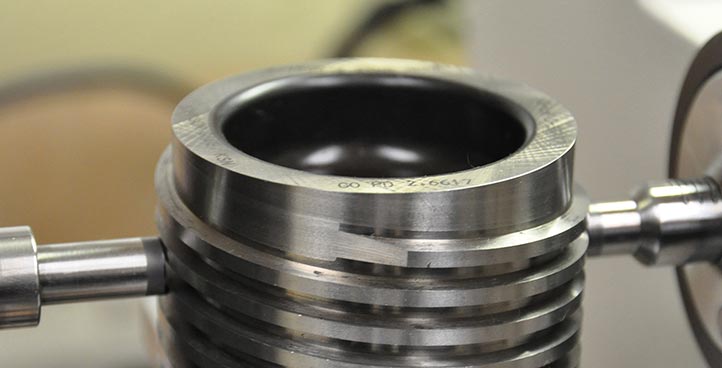
Timely, accurate and traceable Gage Calibration is the anchor of any quality system. Under normal circumstances, Johnson Gage recommends a one-year cycle for all Gaging Elements and Setting Masters. Extenuating circumstances such as 100% inspection requirements of large lots, frequent inspection of abrasive material, or any other out of the ordinary use may dictate a more frequent calibration frequency.
In addition to the establishment of a regular calibration cycle, conformance of the calibration process to the written requirements of standards and specification such as ASME B1.2 is an absolute necessity. All too often, calibration of thread gages ignores many of the basic elements and characteristics essential to gage performance. In direct contrast to this limited examination, Johnson Gage is proud to offer the most comprehensive calibration service for thread gages available in industry today. In addition to the standard visual inspection for oxidation and obvious damage, the following dimensions and characteristics are inspected on each and every Thread Setting Plug or Ring calibrated by Johnson Gage.


